Billing Editor is a tool to validate an accession prior to billing, bill and reverse the billed accession or a batch of accessions.
Instant Procedure:
Billing
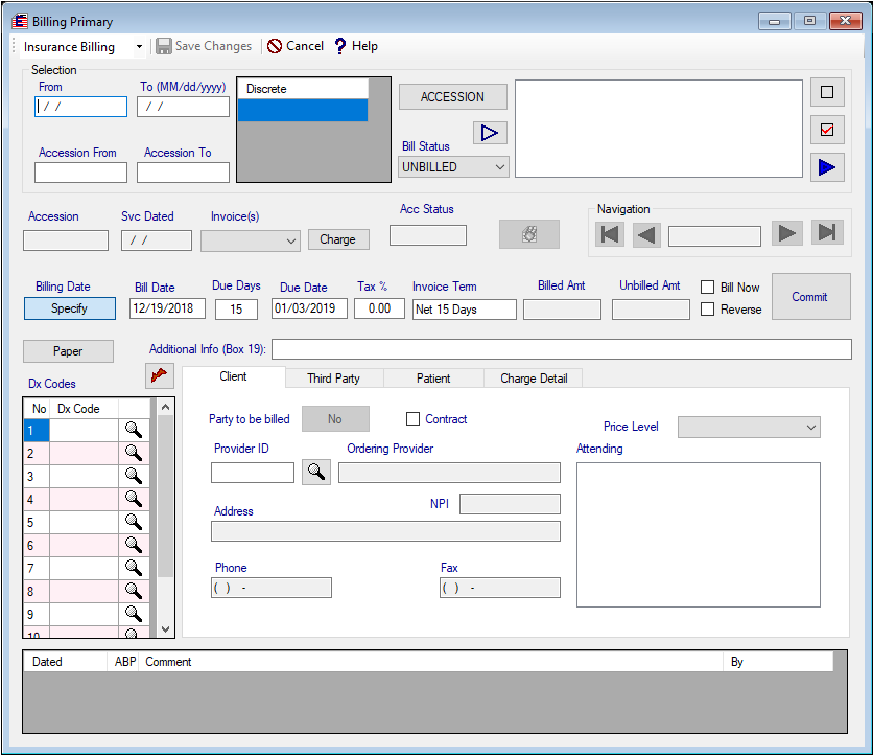
a) Select the desired Billing type, Client Billing, Insurance Billing (default) or the Patient Billing. Select an accession, a range of accession by typing the accession in

or the range of accessions in
or select the accession date range by specifying the date range in
fields or if you need to bill specific discrete accessions, type them in the
field one by one. Accession range fields, the date range fields and the discrete accessions fields are exclusive to each other.
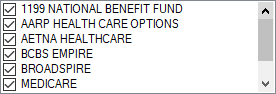
b) Leaving the Bill Status default option 'UNBILLED' selected, click the hollow triangle button

. It should display all the Insurances to be billed if the
Synchronization has been performed and there are accessions transferred from the clinical side to the billing side by the synchronization process.
c) You may deselect any Insurance to keep from being billed or select otherwise. By default all Insurances are selected.
d) Click the solid triangle button

to populate the target data. The Editor will show
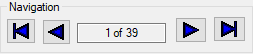
the total number of accessions and the pointer of the navigation. The image is showing the pointer at the first accession of total 39 accessions.
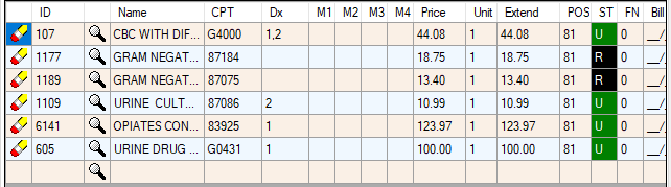
e) Click the 'Charge Detail' tab of the 4 tabs

. All the items will be shown as below.
The line item status 'ST' shows the readiness of the item to be billed like

or not ready status like

.
f) Resolve the not ready status
of all items to ready status
by entering the ICD 10 Diagnosis code in the first empty slot of the 'Dx Codes' field followed by clicking the 'Necessity Check button

. If the entered code is compatible with the item's CPT code, the position number of the Dx code will be entered in the Dx column of the grid, next to the CPT of the item turing the 'ST' of the item to ready
otherwise the Dx cell of the item will stay blank, indicating that the entered code is not compatible. If the Dx cell has the pointer but the 'ST' cell does not turn ready, you need to check the other validating elements like patient's complete address on the Patient tab, the NPI of the provider on the Client tab, the Policy number on the Third Party tab and the price cell of the item on the current tab.
g) Once all the displayed items in the Charge Detail grid have the ready status, place a check mark in the 'Bill Now' field

that will enable the 'Commit' button

. Click the Commit button. Prolis will bill the accession, displaying the accession like

and all the billed items status like

.
h) You may navigate to the next accession using the Next

button of the navigation and repeat (e) through (g) steps.
Reverse (Unbill)
a) For Reversing the bill, the Editor enbles the user to select the accession with the accession ID or the Invoice ID or the Charge ID. Simply click the Accession-Invoice toggle button to select the criteria you want to use in the selection. If the Toggle button reads Accession, use the accession ID otherwise use the Invoice ID.
b) Select the 'BILLED' or 'ALL' option of the Bill Status field. Click the hollow triangle button
. It should display all the billed Insurances of your selection.
c) Deselect any Insurance if desired.
d) Click the solid triangle button
to populate the target data. The Editor will show
the total number of accessions and the pointer of the navigation. The image is showing the pointer at the first accession of total 39 accessions.
e) Once all the items are displayed in the Charge Detail grid, place a check mark in the 'Reverse' field

that will enable the 'Commit' button
. Click the Commit button. Prolis will unbill the accession, displaying the accession status like

and all the billed items status like

.